> For the complete documentation index, see [llms.txt](https://docs.jediswap.xyz/llms.txt). Markdown versions of documentation pages are available by appending `.md` to page URLs; this page is available as [Markdown](https://docs.jediswap.xyz/how-to-use-jediswap/how-to-zap/how-to-zap-on-starknet.md).
# How to ZAP on Starknet
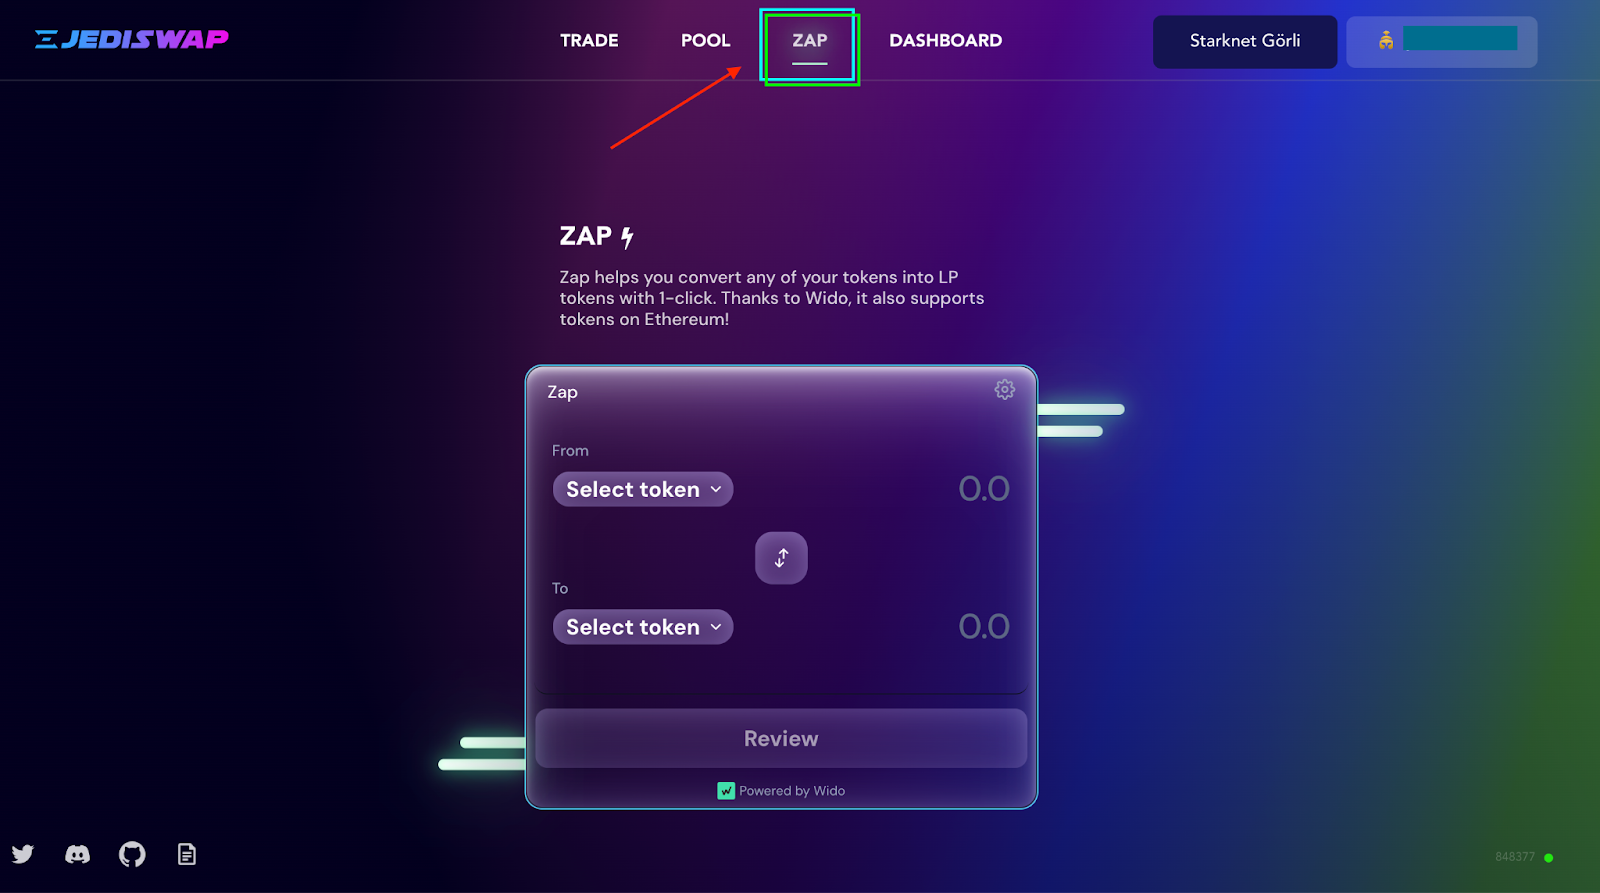
### 1. Select the desired tokens and quantity.
* Head over to the JediSwap ZAP [page](https://app.jediswap.xyz/#/zap).
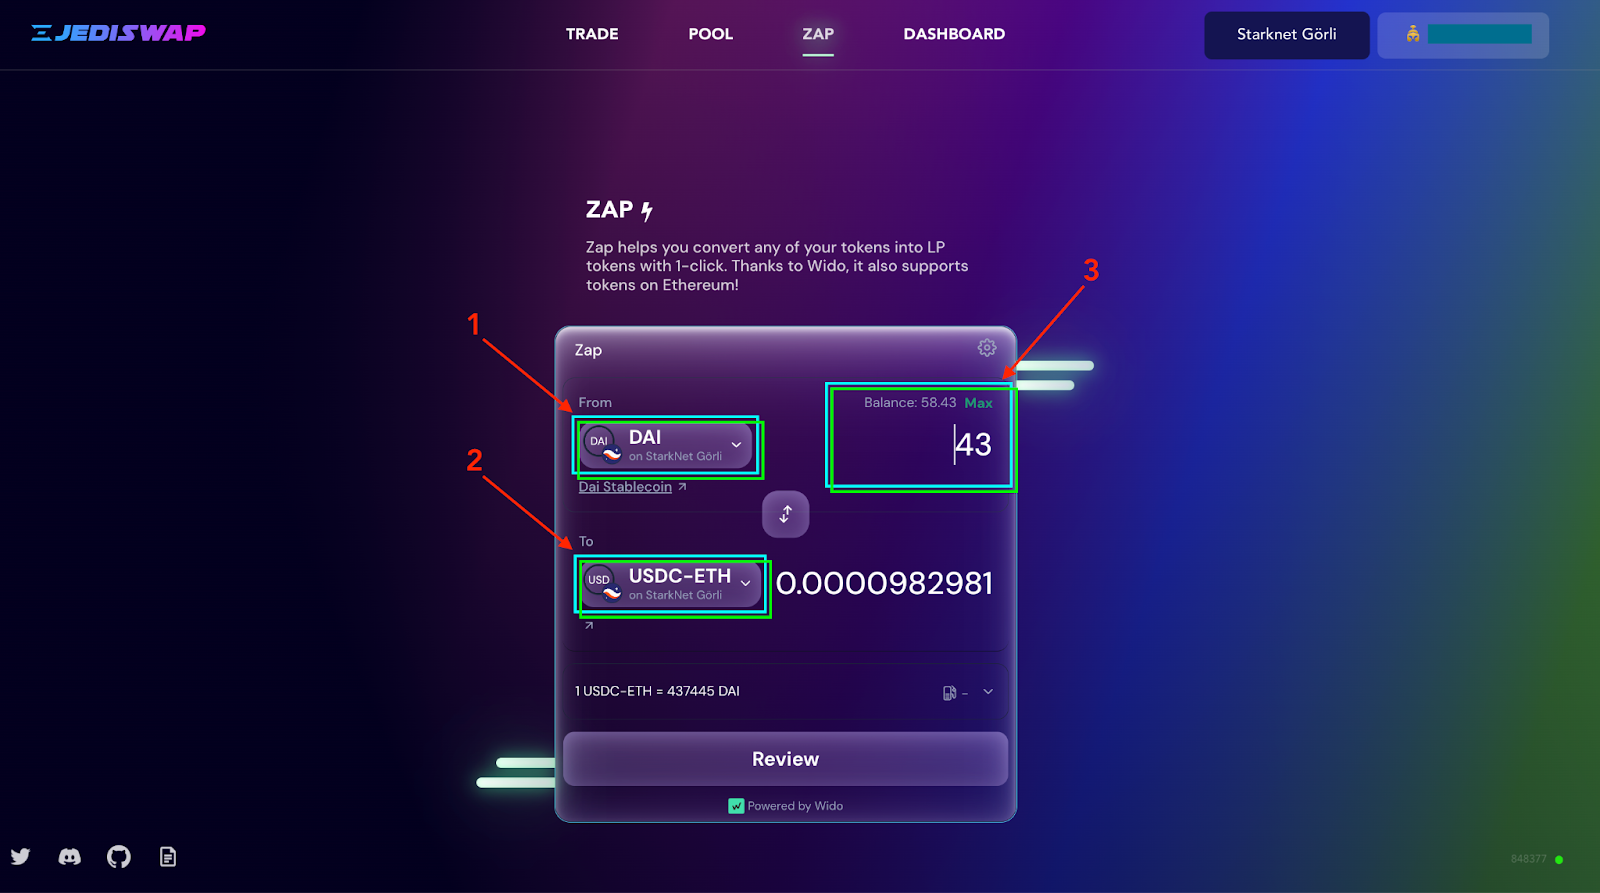
* Proceed by selecting the token you wish to add to liquidity with.
* Select the token you intend to add liquidity with.
* Select the LP token you want to receive.
* Input the quantity of tokens with which you intend to provide liquidity with, and you will also be able to see the corresponding amount of LP tokens you'll obtain.
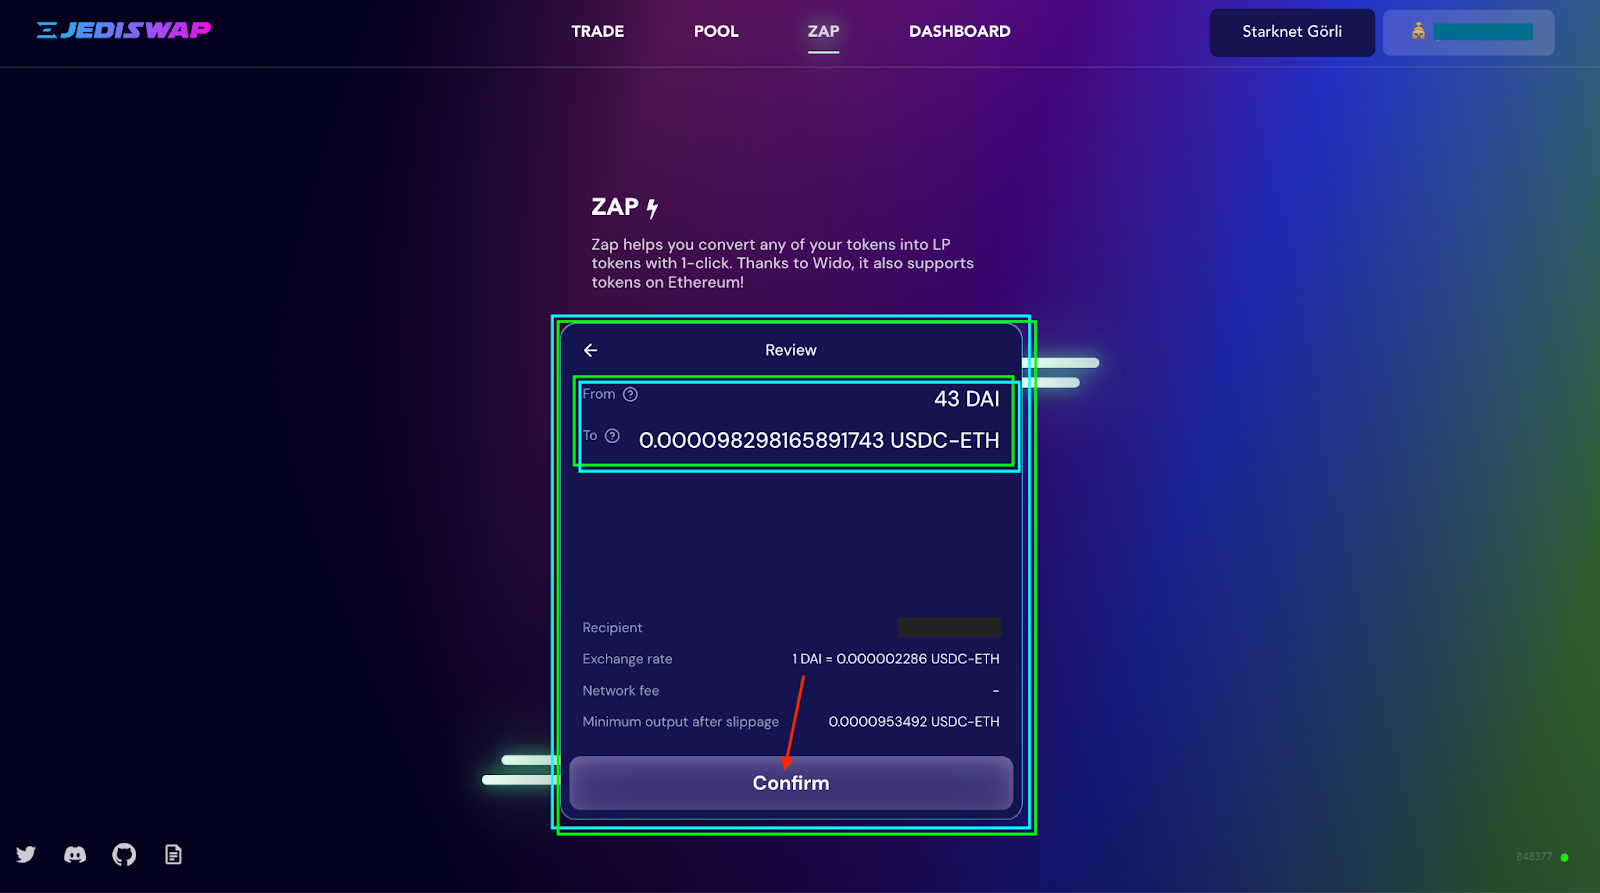
### 2. Review and confirm your transaction
* After inputting the desired amount, click on the "Review" button.
* Examine the specifics of your ZAP transaction, such as the anticipated LP token quantity, fee, slippage tolerance, etc. Once you've assessed the transaction details, proceed by clicking on "Confirm".
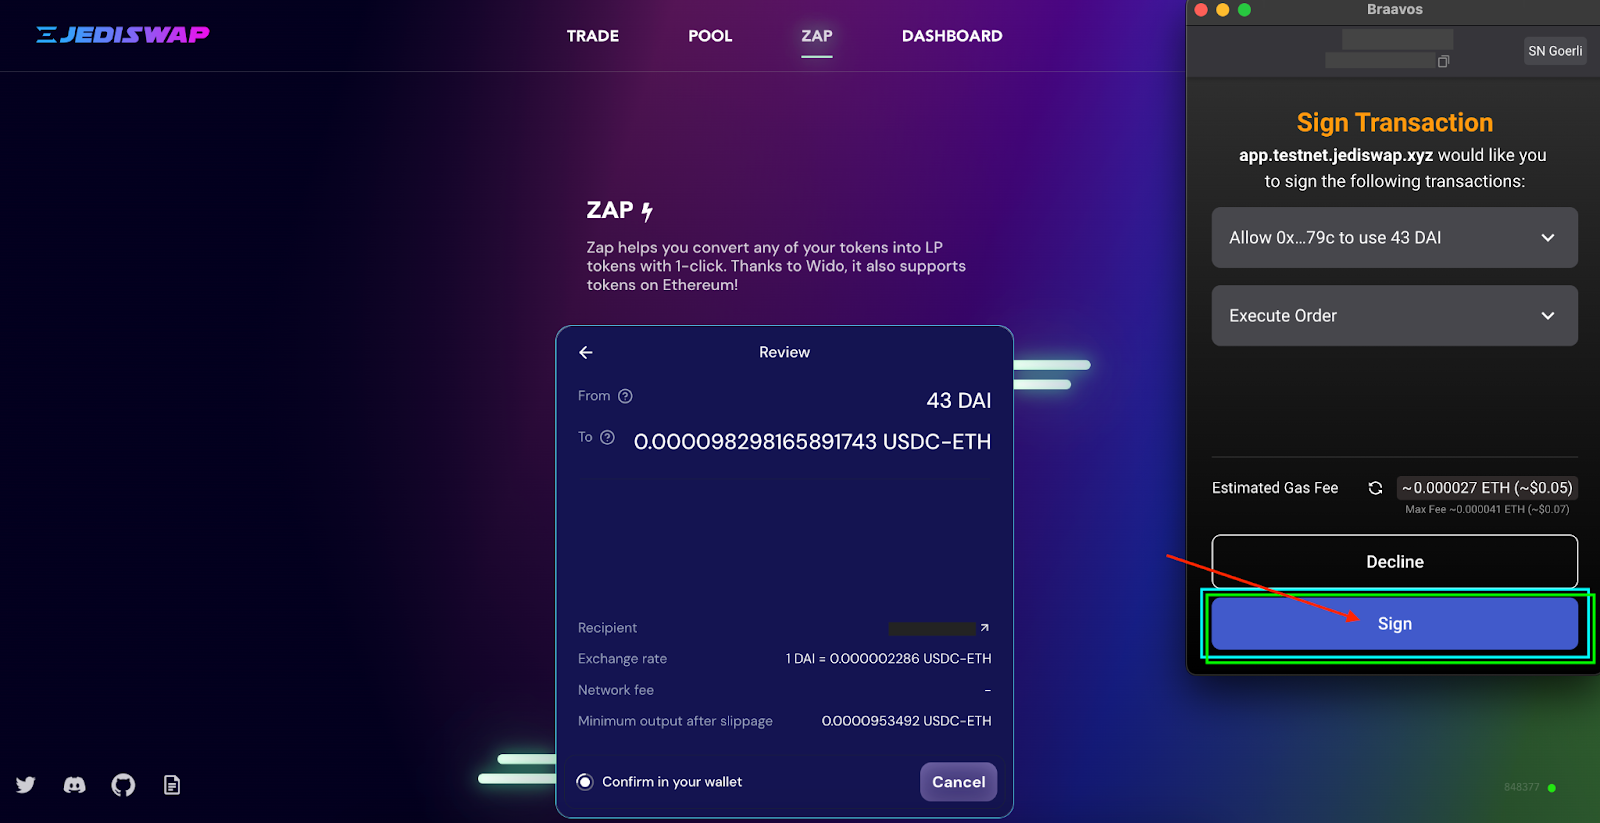
### 3. Sign the ZAP transaction
* After clicking on the "Confirm" button, your Starknet Wallet *(Argent X, Braavos, Argent Web Wallet)* will display a prompt, asking you to sign the ZAP transaction.
* To finalize the transaction, simply click on the "Sign" option.
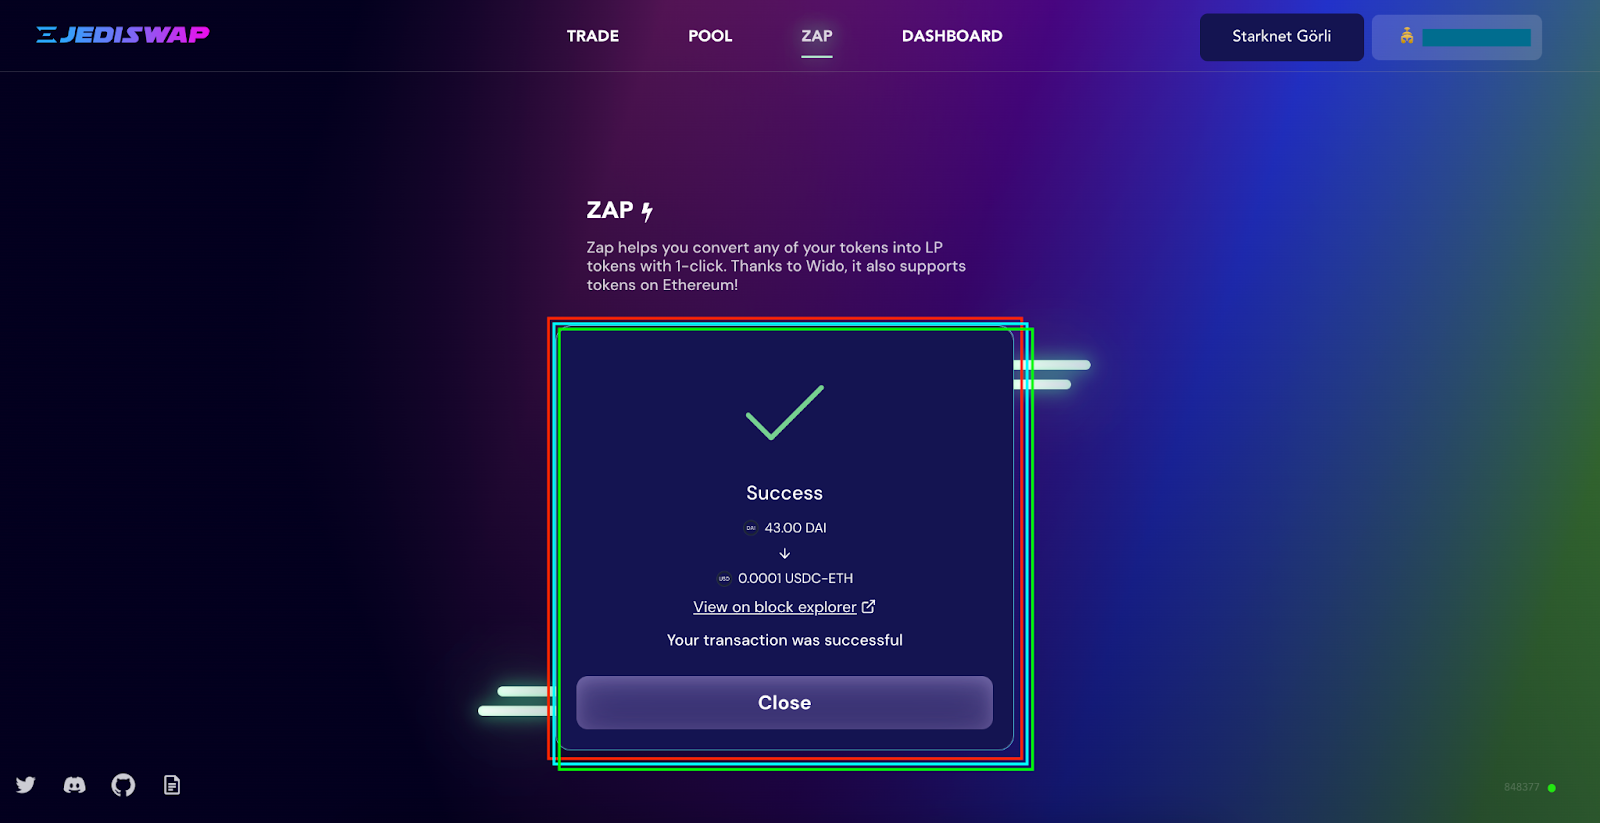
### 4. Wait for the transaction to be confirmed
This should take a couple of seconds.